


Design and the Chair

The Problem
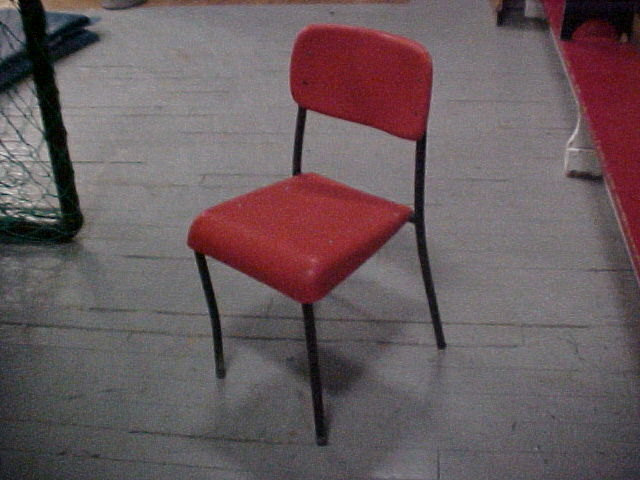
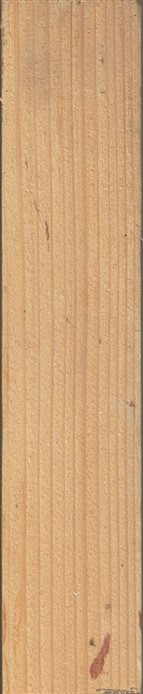
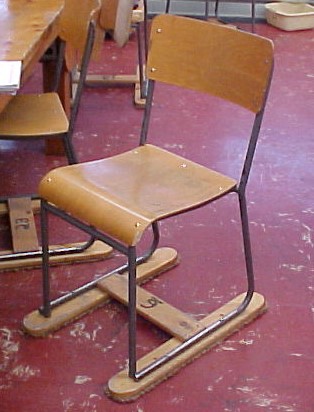
Through the first year that I taught in an elementary classroom this is one of the 24 chairs that my school allocated to my grade 5/6 class. This chair made a lot of noise when students moved.
Through the first year that I taught in an elementary classroom this is one of the 24 chairs that my school allocated to my grade 5/6 class. This chair made a lot of noise when students moved.
Factors
Any movement of the chair's legs made noise. This unsettling high pitch noise was caused by friction. The individual chair leg's rubber black tip rubbing against the tile floor created a vibration. The vibration was absorbed and amplified by the tube. The tube amplified high pitch sound waves that traveled through the room and disrupted my class.
Any movement of the chair's legs made noise. This unsettling high pitch noise was caused by friction. The individual chair leg's rubber black tip rubbing against the tile floor created a vibration. The vibration was absorbed and amplified by the tube. The tube amplified high pitch sound waves that traveled through the room and disrupted my class.
Solutions
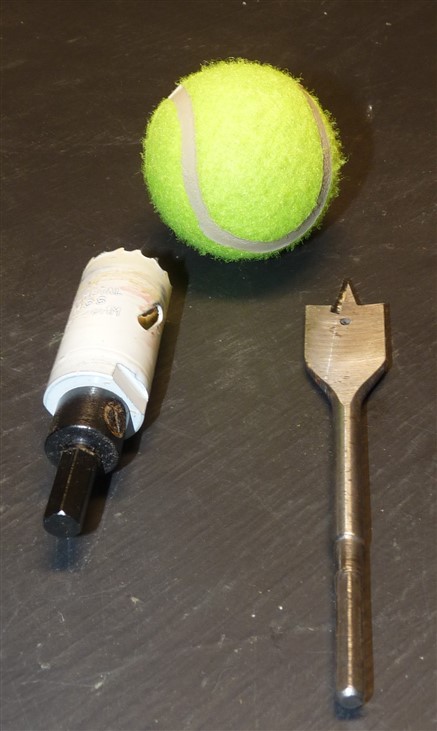
I learned, when I started researching the problem, that teachers were inserting tennis balls into the legs of a chair. This method cuts down on noise by acting as a sound absorbing cushion and allows for smooth chair movement. I tried this solution for a couple of months. It did cut down on the noise but I ran into problems. First it was difficult and dangerous drilling the hole in the ball. Also, I couldn't keep them clean and they kept falling off.
I learned, when I started researching the problem, that teachers were inserting tennis balls into the legs of a chair. This method cuts down on noise by acting as a sound absorbing cushion and allows for smooth chair movement. I tried this solution for a couple of months. It did cut down on the noise but I ran into problems. First it was difficult and dangerous drilling the hole in the ball. Also, I couldn't keep them clean and they kept falling off.
Ideation
First we went through the ideation phase which is an important part of creativity for kids because it teaches them how-to problem-solve.They use their different ideas to find the best solution.
Prototype
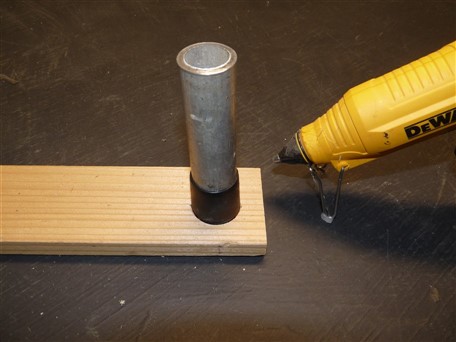
Next, before we made the final product we had to fix problems by discussion and getting feedback. This would save us time, money and a lot of work. The big question my students had was how were we going to attach the individual chair legs to the two pieces of wood to make our prototype.
First we went through the ideation phase which is an important part of creativity for kids because it teaches them how-to problem-solve.They use their different ideas to find the best solution.
Prototype
Next, before we made the final product we had to fix problems by discussion and getting feedback. This would save us time, money and a lot of work. The big question my students had was how were we going to attach the individual chair legs to the two pieces of wood to make our prototype.
Observations
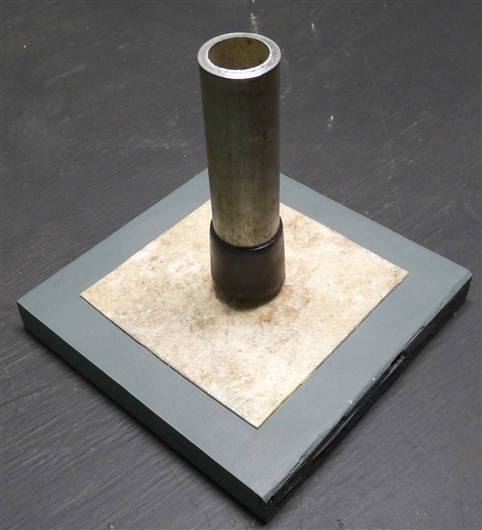
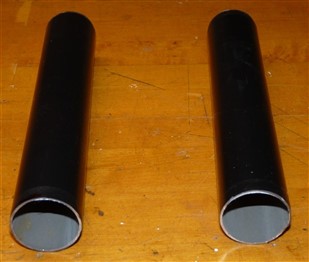
I was sitting in a school gym when I noticed that each gym chair had two horizontal metal tubes resting on the gym floor's surface.
I was sitting in a school gym when I noticed that each gym chair had two horizontal metal tubes resting on the gym floor's surface.

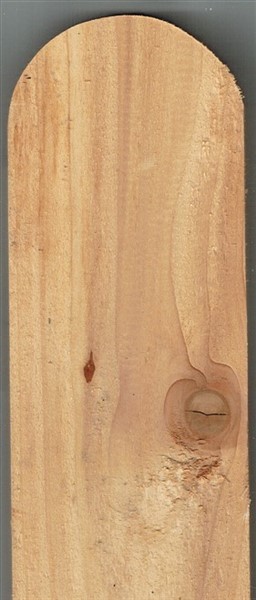
Each horizontal tube connected the front leg of the chair to the rear leg. The two parallel tubes reminded me of my sleighs runners when I was a kid. Eureka! It hit me! Skies, my classroom chairs need floor skies. I went home and immediately cut two 5cm wide boards 60cm long, (1 X 2 X 2). The next day I brought them to my class. We were going to make a prototype.
Connecting
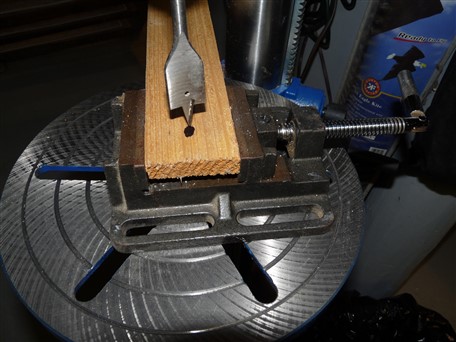
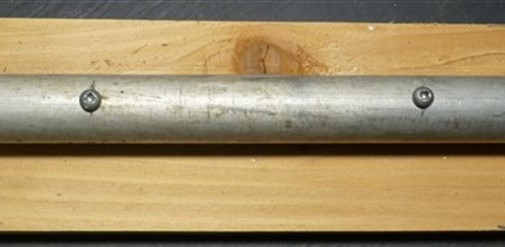
Our next task was linking the four chair legs to the two pieces of wood. Solid connections are important in construction. I explained that the chairs were congruent, meaning they were exactly the same shape and size. I demonstrated how to make a standard drilling template that would allow precise holes to be drilled part way through the wood. Aligned sunken holes would allow the chair legs to be exerted into the holes creating a strong bond.
Our next task was linking the four chair legs to the two pieces of wood. Solid connections are important in construction. I explained that the chairs were congruent, meaning they were exactly the same shape and size. I demonstrated how to make a standard drilling template that would allow precise holes to be drilled part way through the wood. Aligned sunken holes would allow the chair legs to be exerted into the holes creating a strong bond.


Finalizing
After assembling the first chair we realized we needed to glue a cloth like material, slightly larger than the wood ski, to the underside of the wood. It would protect the flooring, reduce noise, and make it easier to move the chair.
Carpet is an excellent sound dampener. When chairs are moved or shifted, the fibers significantly reduce the scraping noise. Also the cloth surface of carpet allows chairs to slide more easily and smoothly across the floor with less friction. Our prototype was finished. We transformed the remaining class chairs to silent chairs.
The first set of basic classroom chairs that we tested worked well but after using them for a year and a half we realized that improvements needed to be made. The noise was gone, the chairs slid across the floor but the connection between the legs and skis was weak. The link between the wood skies and the legs needed to be much stronger. An opportunity arose.

New Chairs
The school where I observed the gym chairs with tube supports was closing. I put in a school board request for 32 classroom chairs and $150.00 for building materials.
The school where I observed the gym chairs with tube supports was closing. I put in a school board request for 32 classroom chairs and $150.00 for building materials.
Opportunity
"Success is where preparation and opportunity meet" Bobby Unser

After transporting the chairs to my shop project. The first thing I bought was 16 clear pine pieces 1 X 4 X 8 long. After making a layout template I cut 64 skies to length, rounded each end and then sanded them smooth. Then I applied urethane three times, sanding between each application.


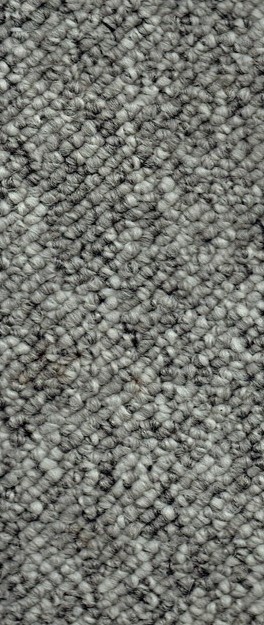
New Carpet

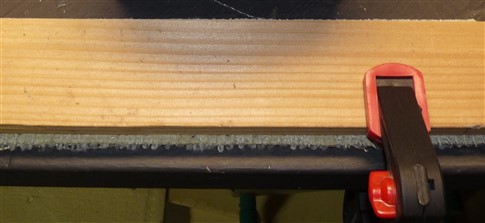
I was careful not to polyurethane the bottoms of my chair skis because it is a sealant. After procuring some deep pile carpet from a carpet store, I cut 64 remnants to ski size, applied carpet adhesive to the bottom of the skis and under clamping pressure, glued the carpet remnants to the bottom. I knew this deep pile carpet would make the chairs even easier to move and give more protection to the classroom floor.

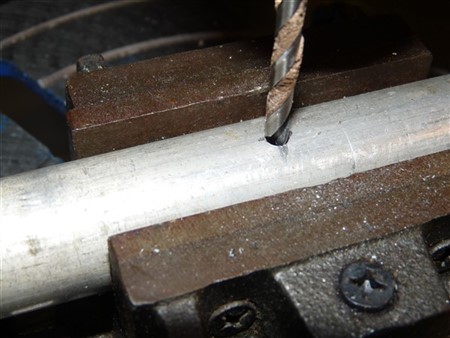

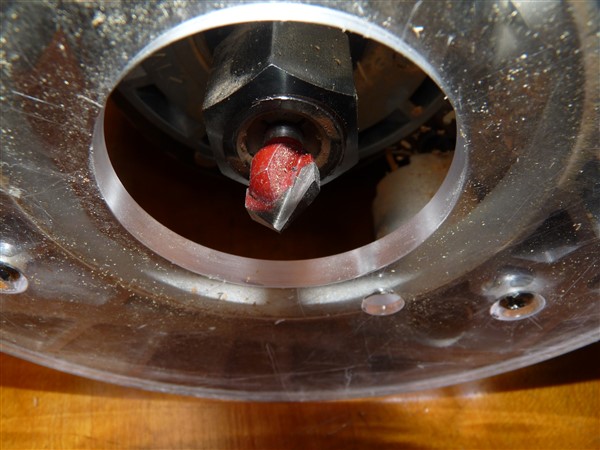
Drilling Steel, Caution!
I used a 3/16 carbide bit to drill the 128 holes through the chair horizontal connecting steel leg. Carbide bits are ideal for drilling through steel.
I used a 3/16 carbide bit to drill the 128 holes through the chair horizontal connecting steel leg. Carbide bits are ideal for drilling through steel.

I used 1&1/2 round head, #8 Robertson screws to connect the steel legs to the wood skis. This allows the driver bit to seat firmly in the screw head providing control. Also you can drive the screws with one hand.


Reinforcing
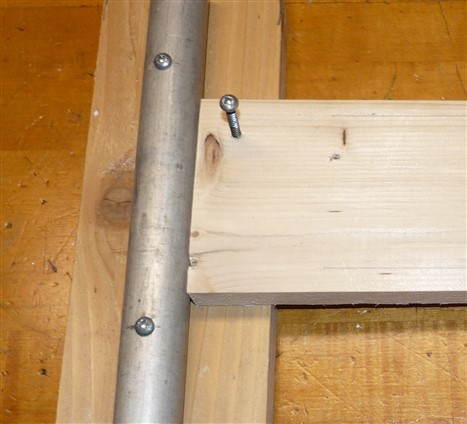
I added a cross piece, called a stretcher, to each chair.
Stretchers make it much stronger. The stretcher stops the legs from moving outward. This stops the chair from wobbling. I used two screws to attach each end but no glue in case I needed to change the stretcher.
I added a cross piece, called a stretcher, to each chair.
Stretchers make it much stronger. The stretcher stops the legs from moving outward. This stops the chair from wobbling. I used two screws to attach each end but no glue in case I needed to change the stretcher.

Every student in my class had an official class number (1>29). This number identified their cubby, drawing board, three ring binder slot, there novel and their chair.
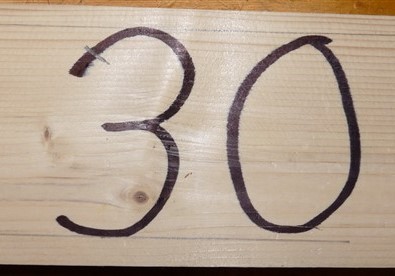

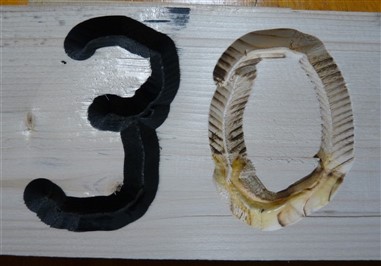

Chair Number

As students moved in the room, work in my classroom varied throughout the day depending on the task at hand, but to better concentrate on their tasks, students insisted that they must sit on their own chair. Having a number carved into a chair's stretcher solved the problem.


Function, Form and Harmony
Every truly original ideaevery innovation in design, every new application of materials, every technical invention for furnitureseems to find its most important expression in a chair. Designer George Nelson
Every truly original ideaevery innovation in design, every new application of materials, every technical invention for furnitureseems to find its most important expression in a chair. Designer George Nelson

Modifications
Modification is a part of design. I had to change an existing object to improve it and in doing so, corrected the objects problems. I did not have the funds to begin from scratch to make a chair that met my standards but my final modified chair did. It was comfortable to sit on, complimented my classroom design and most important; silent.
Modification is a part of design. I had to change an existing object to improve it and in doing so, corrected the objects problems. I did not have the funds to begin from scratch to make a chair that met my standards but my final modified chair did. It was comfortable to sit on, complimented my classroom design and most important; silent.