


Classroom Furnishings
Chairs
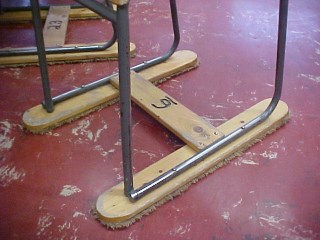
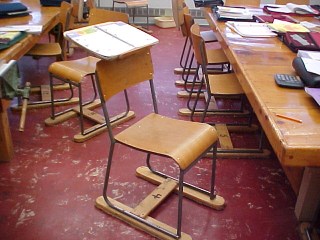
These are photos of my modified classroom chairs. The chairs stood on two ski carpets, which polished the floor and were silent when sat on or moved.
These are photos of my modified classroom chairs. The chairs stood on two ski carpets, which polished the floor and were silent when sat on or moved.
This chair has a small desk on the back. It allowed students to take notes, study or work on their assignments.
Note the number six on this chairs cross- piece. At the beginning of the school year , a class number was assigned to each individual student identifying their chair, drawing board, cubby and binder slot.
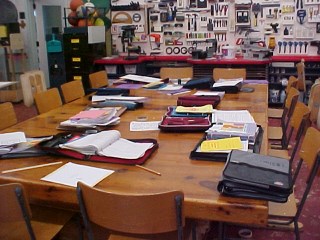
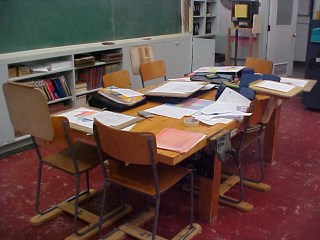
This large table was situated in the center of the classroom. Twelve students could sit comfortably at the table and work. It was also where I gave most of my demonstrations with approximately
12 students sitting and the remainder of the class standing
12 students sitting and the remainder of the class standing
This was one of two work benches in the class. Six students could sit at the bench. They could also work with tools using the vise as an anchor when necessary. Note
the four large, strong legs.
the four large, strong legs.
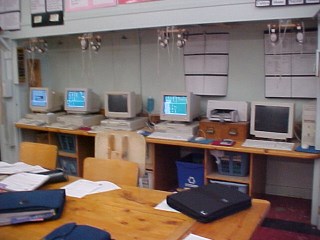
Across the back of my classroom was a bench that held five of my ten computers. I had a computer at my desk that controlled these computers. At any time, I could see what my students were working on.
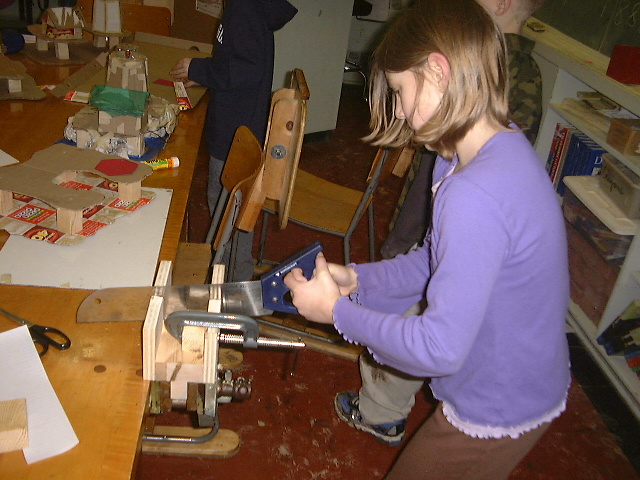
This student is cutting a piece of wood with a fine cross-cut hand saw on a bench with a vise. The wood is being held securely in a miter box with a C clamp. The miter box guides the saw allowing the student to make a precise cut.
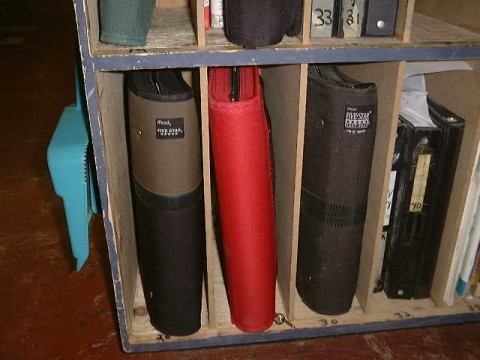
Each student had a binder which was kept in their slot in the binder cabinet.


My Desk
Monitor
Monitor: My computer monitor, through my classroom desktop, connected me to the eight desktops my students used in the classroom.
Keyboard
My keyboard and mouse allowed me to send instructions to my students computers or to the TV monitor above my head.
Monitor: My computer monitor, through my classroom desktop, connected me to the eight desktops my students used in the classroom.
Keyboard
My keyboard and mouse allowed me to send instructions to my students computers or to the TV monitor above my head.
Drafting Chair
Bulletin Board: The bulletin board in front of my desk was a special flat cork surface used for displaying pictures, notes, and reminders so my class could see what was happening this week.
A teacher's desktop computer is safer in a classroom than a laptop because it can't be carried away easily. This significantly reduces the risks of stealing your laptop.


TV Shelf
My Computer and Television were connected so that what I saw on my monitor could be seen by my students. Back then I had to Install a video card in my desktop and connect them together with RCA cables.
My Computer and Television were connected so that what I saw on my monitor could be seen by my students. Back then I had to Install a video card in my desktop and connect them together with RCA cables.
Tables and Benches


Individual Drawing or Drafting Boards
My students used their individual boards everyday. The board gave them a quality surface to work on that helped in developing orthographic and isometric drawing skills.
Drawing helped them develop fine motor skills. Using drawing boards, drawing tools, pencils, crayons, and compasses strengthened my students hand and finger muscles, improved their dexterity, and improved hand-eye coordination. Kids need these skills for handwriting and other communication tasks. My student drawing boards could be used anywhere, a desk, or on a lap. The students drew consistent, quality drawings.


A drafting chair is like a regular chair, but much taller!
It is a stool that artists and architects use when they are drawing at a tall desk.

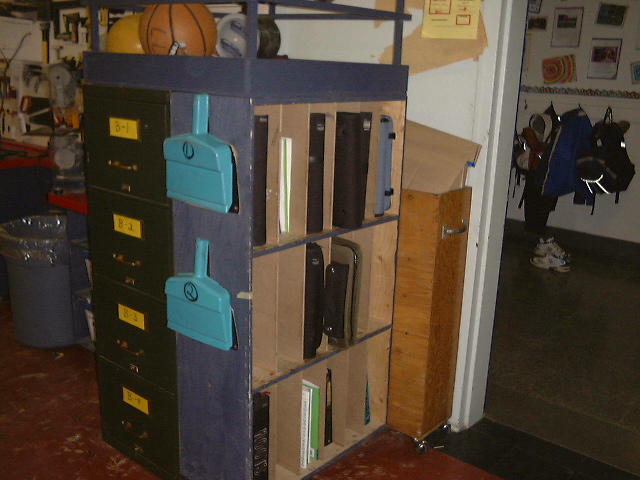
The Classroom Cubby was an important addition to my class because it helped me and my students keep my classroom organized and clean. It taught my students two important life skills: how to focus on a task and be organized. These skills helped my students throughout the teaching day.
As time moved on they became organized, learned how to put things where they belong, took care of their space and became independent. They didn't need me to find a pencil.
As time moved on they became organized, learned how to put things where they belong, took care of their space and became independent. They didn't need me to find a pencil.
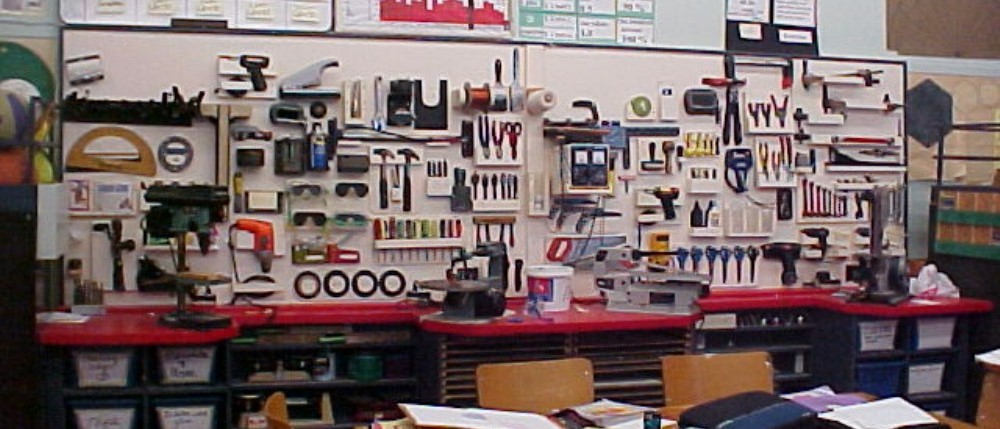
Tool Wall: A silhouetted tool wall is a simple and effective method for organizing tools. This system involves tracing the shape (the "silhouette") of each tool directly onto the wall or pegboard where it hangs, essentially giving every wrench, screwdriver, and hammer its own reserved parking spot.
The process is straightforward: you draw or paint the outline of a specific tool right where that tool should be stored. When the actual tool hangs within its painted shadow, you can instantly see if something is missing.
If you finish a project and look at the wall, you eliminate guesswork about misplaced items. An empty painted outlinejust the "shadow" and no toolimmediately indicates a missing item that was left somewhere else.
This organization method saves time by eliminating the need to dig through messy drawers or guess a tool's location. The outline tells you exactly where to put the item back, making cleanup super fast.
Finally, storing tools neatly in their specific spots helps prevent them from getting scratched, rusty, or lost. A tidy workspace is also safer because tools aren't left lying on the floor where someone might tri