Understanding Orthographic and Isometric Projection
What do you want to be when you grow up? When I was in High School, I decided that, because I enjoyed my shop classes, I was going to be shop teacher and teach girls and boys how to draw plans, use tools and make things.
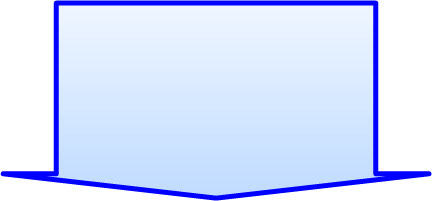

Top
View
View
Front
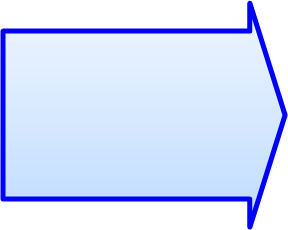
View
View
Side View
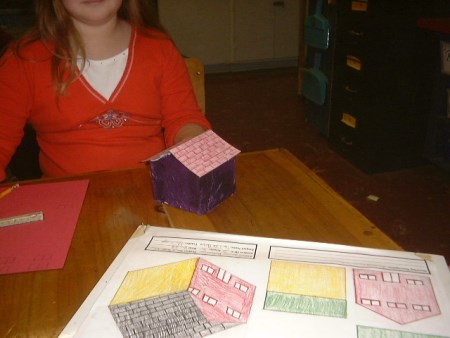
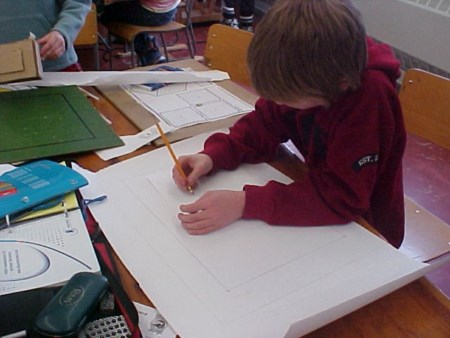
Drawing Plans
Using Tools
Making Things
One of my favourite things to do is think about something I want to make and make a plan about what I am visualizing.
When someone hires a designer, architect or engineer to make a plan, they use orthographic projection to design the object that needs to be made.
The object could be as small as a building block, as massive as a suspension bridge or as complicated as a racing car. All of these things use orthographic projection rules to show precisely what is going to be made.
These designs are used by people who make things; people like cabinet-makers, carpenters and plumbers. Good designs help them make things the right way.
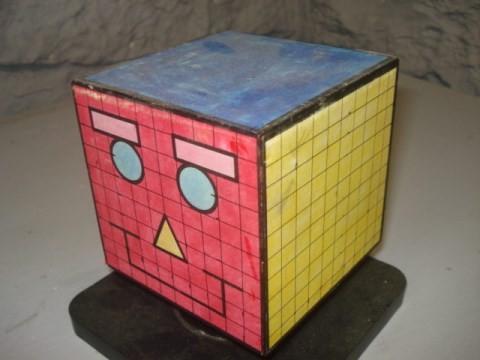
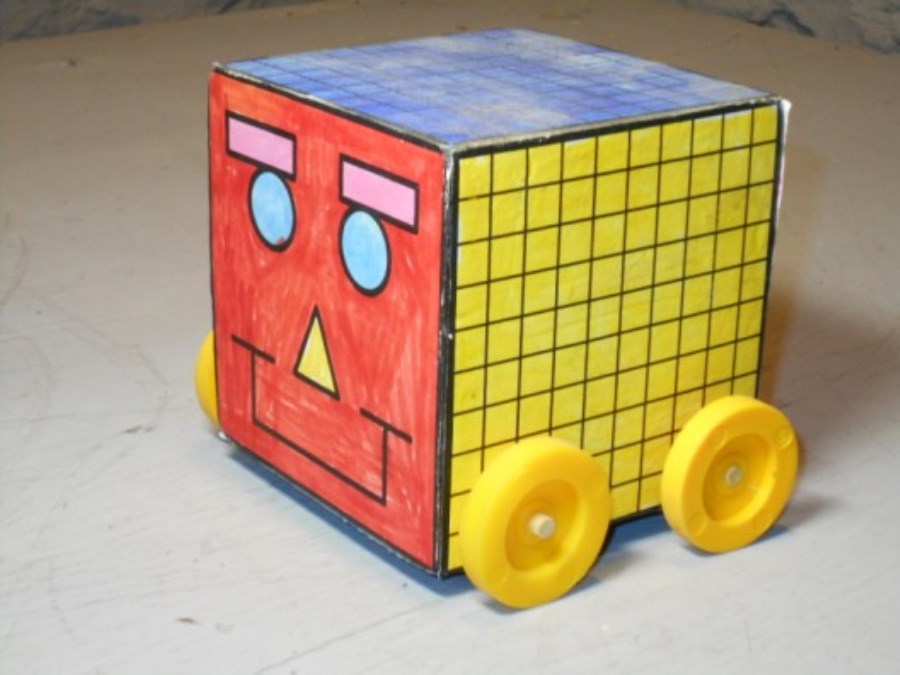
This is Cubee D. Cubee D is going to help us understand Orthographic and Isometric Projection rules and how to use those rules to make a plan.
When someone hires a designer, architect or engineer to make a plan, they use orthographic projection to design the object that needs to be made.
The object could be as small as a building block, as massive as a suspension bridge or as complicated as a racing car. All of these things use orthographic projection rules to show precisely what is going to be made.
These designs are used by people who make things; people like cabinet-makers, carpenters and plumbers. Good designs help them make things the right way.
This is Cubee D. Cubee D is going to help us understand Orthographic and Isometric Projection rules and how to use those rules to make a plan.
Views
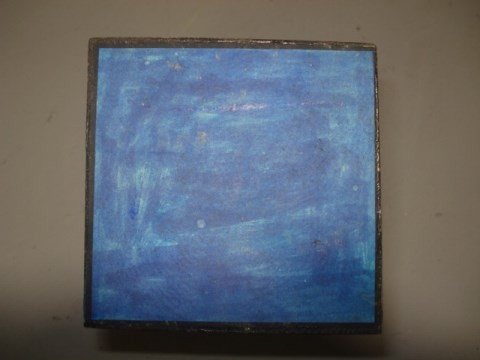
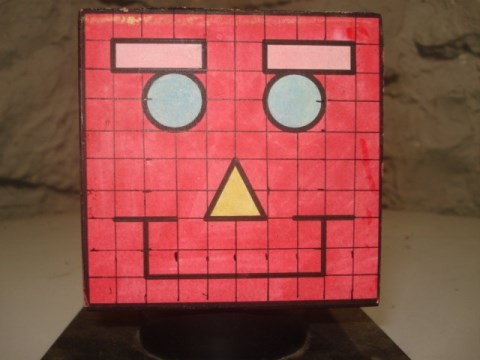
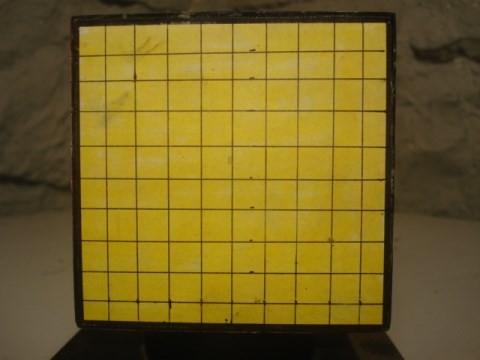
Cubee D has six equal , one decimeter square surfaces. When using orthographic projection these surfaces are called views: front and back views, top and bottom views and right and left side views.
Cubee Ds face and back view are red in colour. The top and bottom views are blue and the right and left side views are yellow.
Keep these view colour rules in mind because these are the three primary colours which will be used in future drawings.
Also, the three views we will be focusing on in our first drawing are the front, top and right side views.
Top View
Isometric View
Front View
Side View