Preparing an Orthographic and Isometric Drawing Template
The Language of Design: A Secret Code for Inventors
Did you know that designers have their own secret language? When you invent something new, you cant just draw a messy scribble. There are special drawing rules that people have been perfecting for hundreds of years! These rules make sure that if you design a toy here in Canada, a factory in Japan knows exactly how to build it without you even being there.
Two Ways to See the World
Today, we are going to master two professional styles used by real engineers:
Isometric Drawing: This makes objects look 3D so they "pop" off the page.
Orthographic Drawing: This is like a blueprint. It shows an object completely flat from three sides: the Front, the Top, and the Side.
Our Secret Weapon: The Master Template
Before we start inventing, we need the right tools. We are going to create our own Master Template. Think of this as a "cheat sheet" on paper. It will act as a guide to help your hand draw perfect 2D views and 3D shapes every single time.
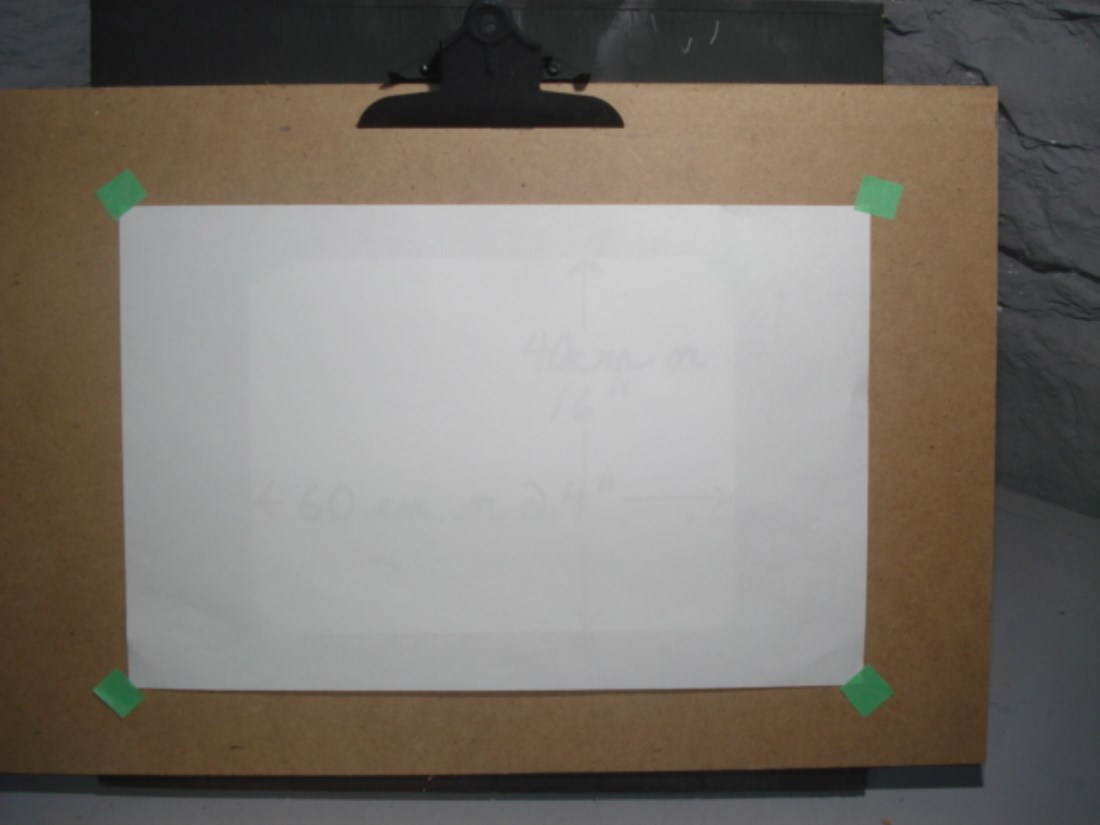
Start by placing a piece of paper, 28 cm X 43cm on a drafting board . Aligning the bottom of the paper with the edge of your board with a T square. Neatly tape and secure the paper using four pieces of masking tape.
Each piece of masking tape should be approximately 2 cm long, and neatly cut with scissors. It is important to get in the routine of cutting masking tape and not tearing it. When working on technology skills, proper work habits are essential.
Each piece of masking tape should be approximately 2 cm long, and neatly cut with scissors. It is important to get in the routine of cutting masking tape and not tearing it. When working on technology skills, proper work habits are essential.
Preparing the Template's Base
The Three Orthographic Squares
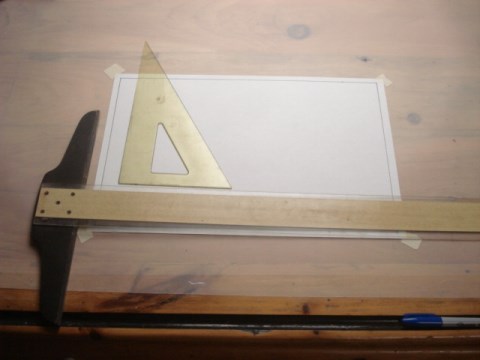

Use a sharp pencil and ruler to lightly draw a 1cm border inside the perimeter of the paper. Use a fine point, black permanent marker, to highlight the internal border. Keep a clean rag handy to wipe the rulers edge after each highlighted line is drawn. Wiping the edge prevents marker ink build-up on the edge of the ruler which can lead to bleeding under the ruler.
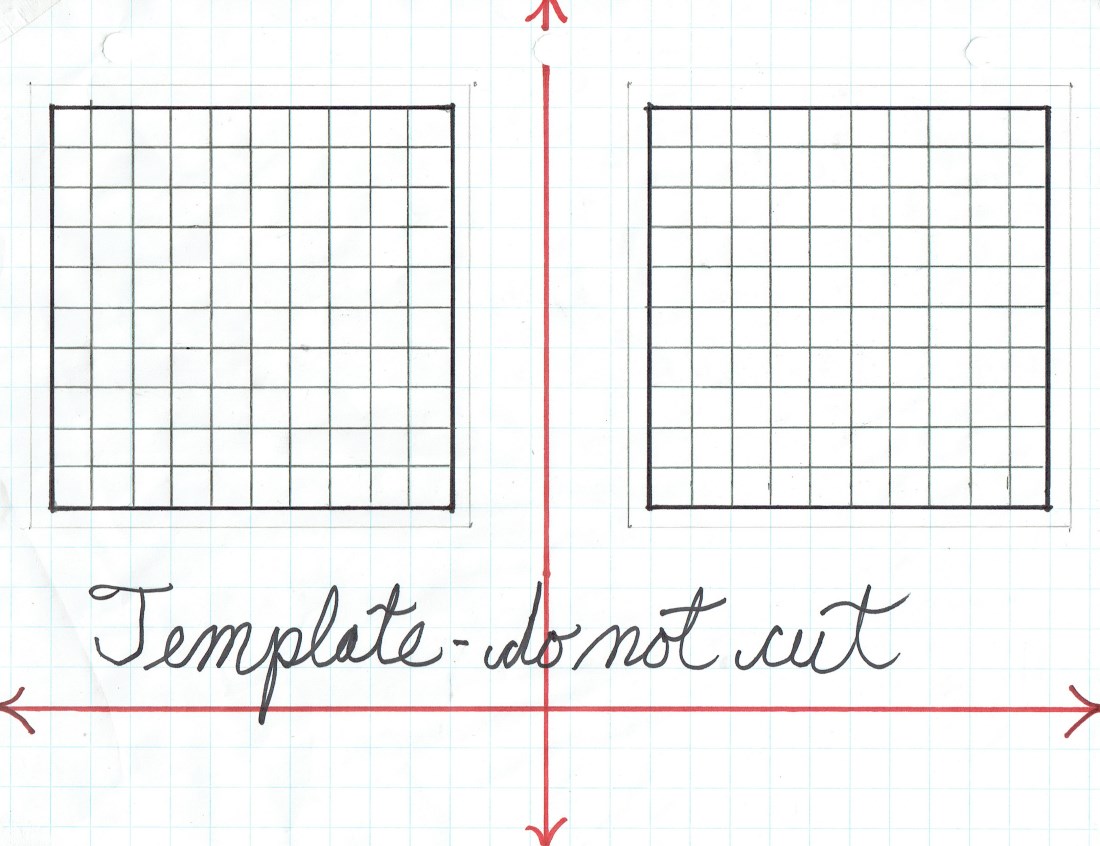
About 27 cm wide
About 23 cm high
Start with a single piece of 23cm X 27cm graph paper. Outline 2, one decimeter by one decimeter squares, leaving 4 or 5 cm between the two squares.
Highlight the border with a fine black permanent marker and highlight the squares internal lines with a moderately sharp pencil.
Designate this design as a template. Make 2 copies, cut the squares carefully, leaving the borders.
Highlight the border with a fine black permanent marker and highlight the squares internal lines with a moderately sharp pencil.
Designate this design as a template. Make 2 copies, cut the squares carefully, leaving the borders.
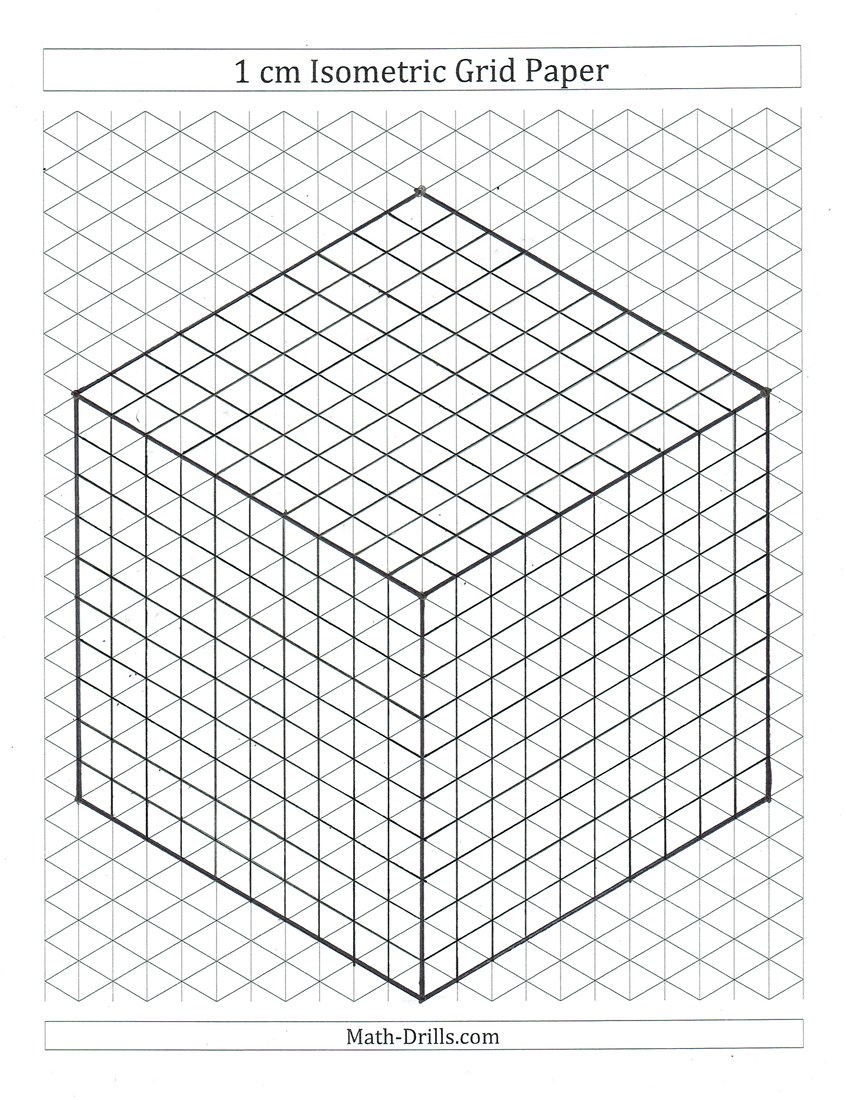
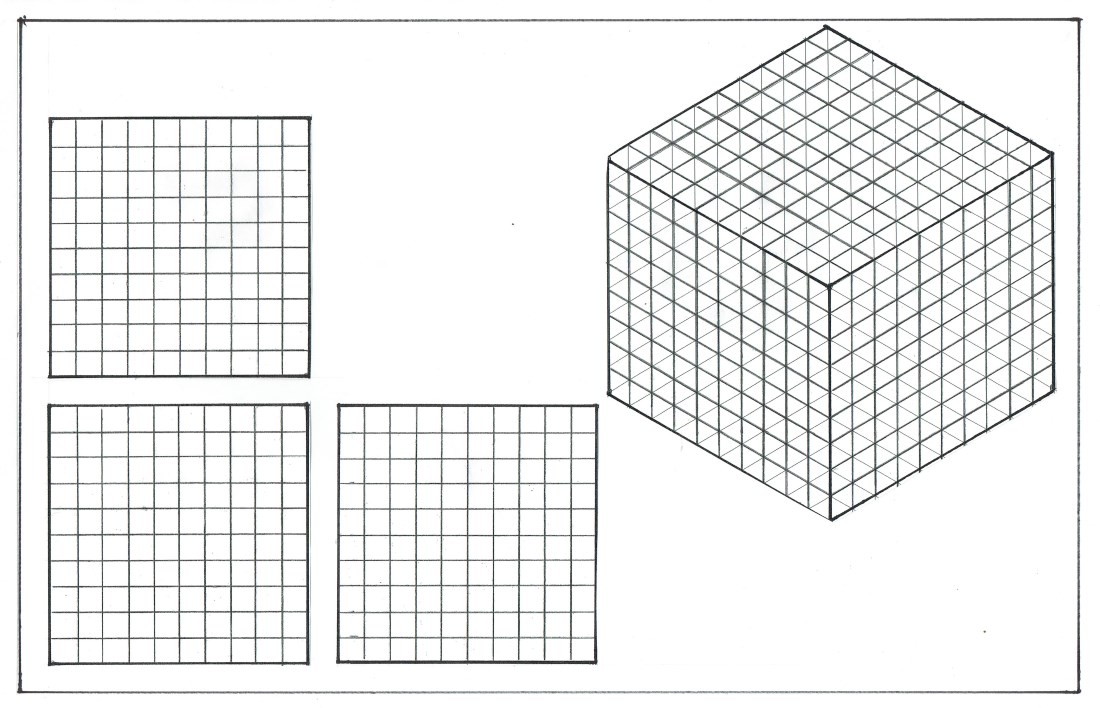
The Isometric Template
Download and print one vertical sheet of one centimeter isometric grid paper. Outline three connecting square decimeters creating a cubic decimeter.
Highlight the edges with a fine marker and the internal lines with a pencil. Designate your design as a template and make a copy. Cut the copy to size leaving the border.
Make sure to save your designs because you will have use for them in the future.
Highlight the edges with a fine marker and the internal lines with a pencil. Designate your design as a template and make a copy. Cut the copy to size leaving the border.
Make sure to save your designs because you will have use for them in the future.
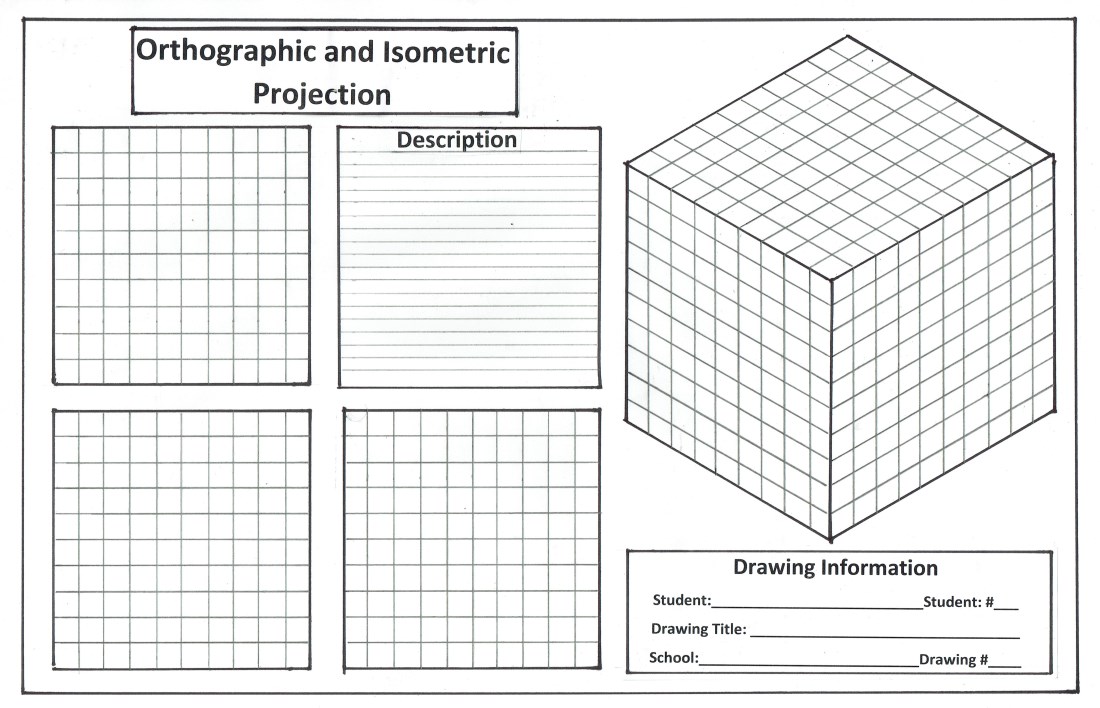
The Master Orthographic and Isometric Template
Top View
Front View
Side View
Top View
FrontView
Side View
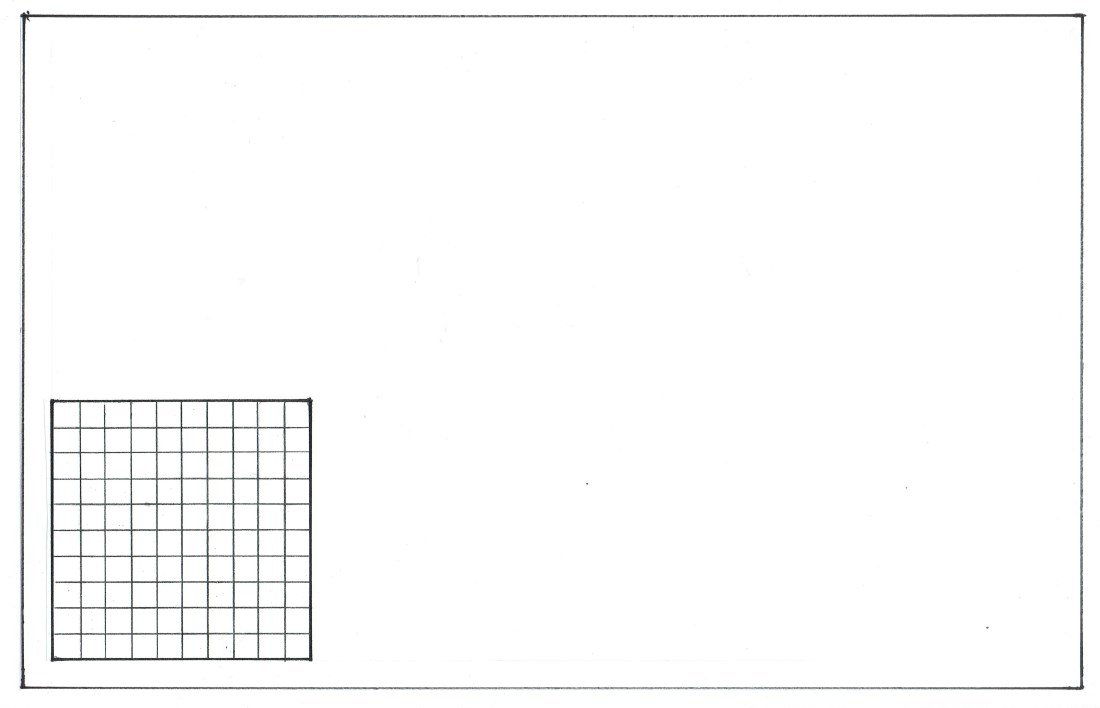
The Front View.
The front view is a part of an object that is normally seen first. A good example is the front elevation of a house or the front of Cubee D. The front view of the cubic decimeter is placed on the bottom left-hand side of the template, one centimeter from the border.
The front view is a part of an object that is normally seen first. A good example is the front elevation of a house or the front of Cubee D. The front view of the cubic decimeter is placed on the bottom left-hand side of the template, one centimeter from the border.
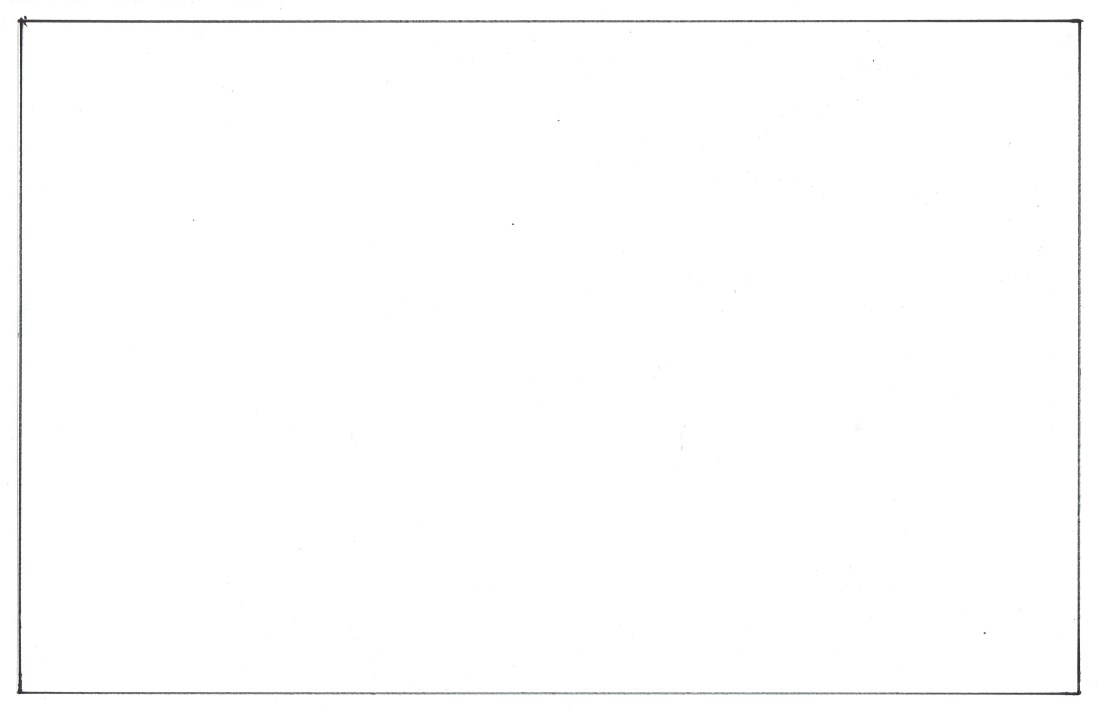
The Blank Base Page
Start with a 28 cm X 43 cm piece of white paper. Using a ruler and pencil, draw a 1cm border inside the perimeter of the page and highlight it with a fine black marker. A 50 cm long ruler helps in this task.
Start with a 28 cm X 43 cm piece of white paper. Using a ruler and pencil, draw a 1cm border inside the perimeter of the page and highlight it with a fine black marker. A 50 cm long ruler helps in this task.
Using a fresh glue stick, spread glue on the square decimeter, not the blank paper. Align the sq. dm on the blank, cover it with a piece of scrap paper, roll it vigorously and remove the scrap paper.
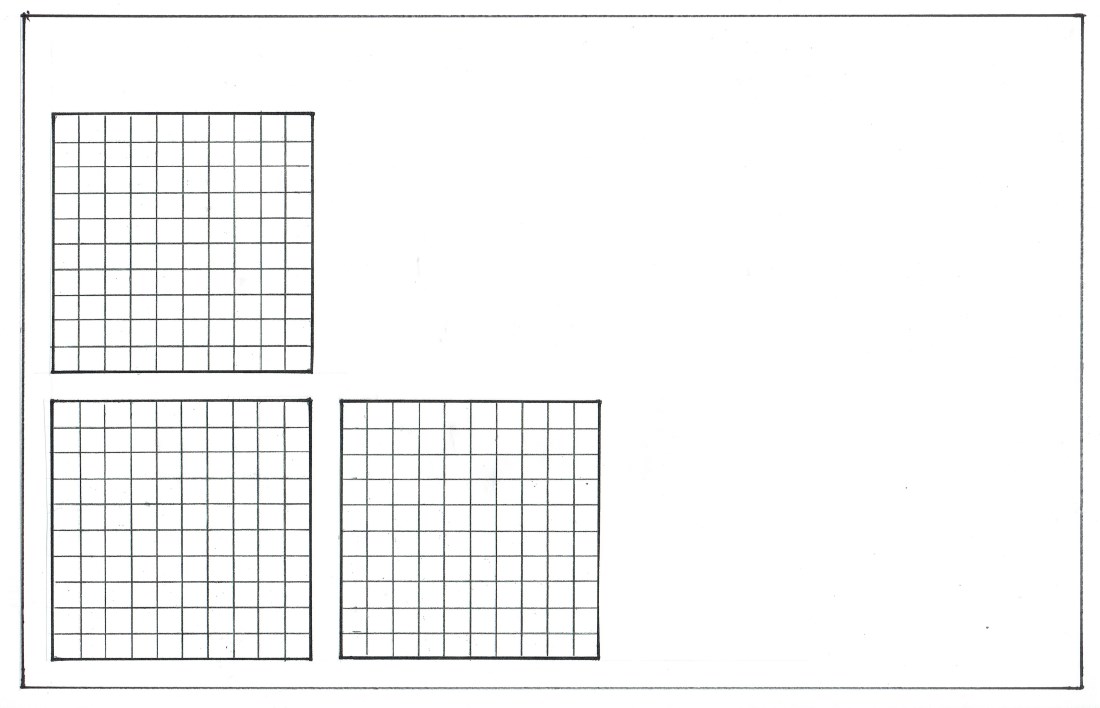
The Top and Side Views
The top view is placed directly above the front view and side view is normally placed on the right side of the front view with an exact, 1 cm space, between the views.
The top view is placed directly above the front view and side view is normally placed on the right side of the front view with an exact, 1 cm space, between the views.
They are glued to the paper in the same manner as the front view.
Align and glue the isometric views to the blank.
The Orthographic and Isometric
Template
After completing your template, make a copy. Place the template carefully in an appropriate strong folder and file the folder in a safe place.
Examine the copy and touch up any imperfections with a pencil or fine marker.
Note that my template was made with a drafting machine. I added a title and drawing information section using "Word."
After you have acquired a class set of drafting boards, rulers, pencils, pencil crayons, sharpeners, masking tape you are now ready to make 50 copies of your drawing template and present your first drawing and project to the class, The Cubic Decimeter.