Using a pencil, outline a one centimeter extra space around your bookmark design. Cut it out with a pair of scissors. Place the design on a piece of boxboard and draw an extra one centimeter space around it. Cut it with a pair of scissors. Cutting boxboard is more difficult so you may want to practise first.
The Bookmark
Part One
Part One
Review
Think about the bookmark you made and what you have learned up to now.
First, at your work-space, you neatly collected, organized and laid-out your tools, (pencil, metric ruler, scissors, roller) and construction material (boxboard).
Second, keeping your work-space neat and tidy and not interfering with another artisan, you laid out a piece of boxboard (a cereal box in which the inside has been exposed by neatly and precisely cutting along an edge).
Third, without wasting material, you drew 15cm long parallel lines along the opposing edges of a ruler, and drew two square lines at the ends, forming a rectangle.
Finally, five centimeters from one end of the bookmark, you folded the boxboard one hundred eighty degrees and rolled a tight crease. You were successful and have made a basic bookmark. It was not difficult. Now let's learn some basic design skills.
Length = 43 centimeters


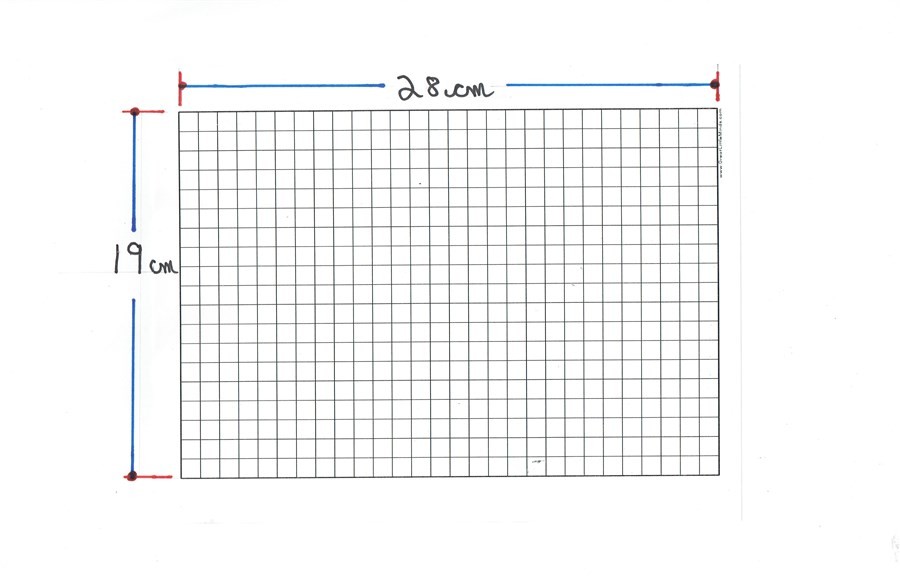
Width = 28 centimeters


A painter starts with a blank canvass, brushes, paint and a plan. A designer begins with a blank piece of paper, drawing tools, pencil and a plan.
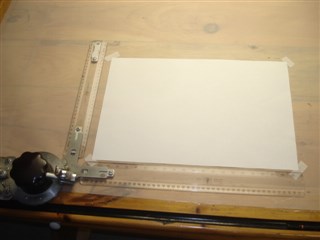
Design Paper
The photo on the right shows design paper taped to a design table framed by a drafting machine.
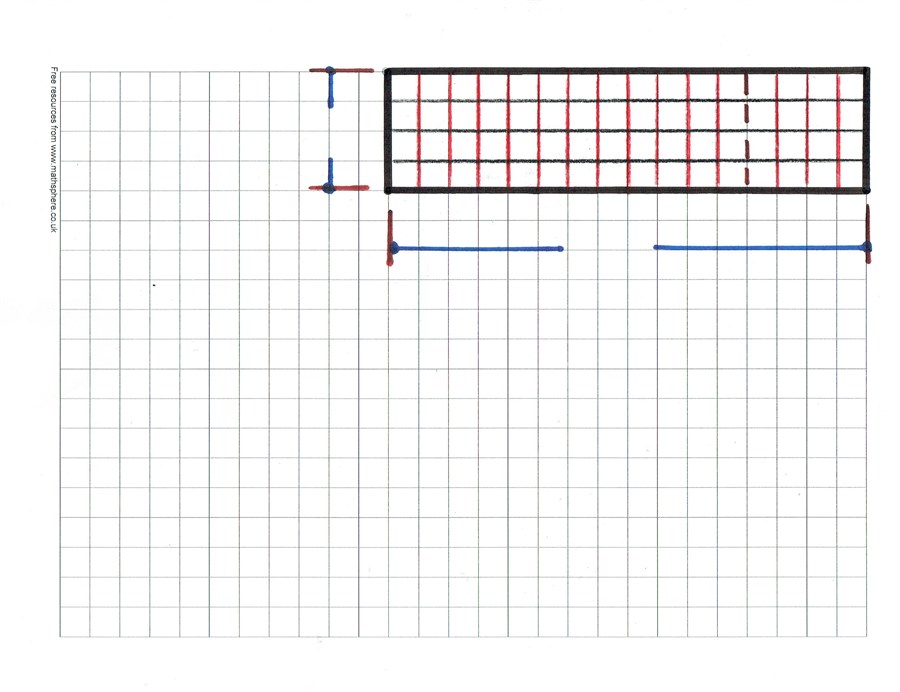
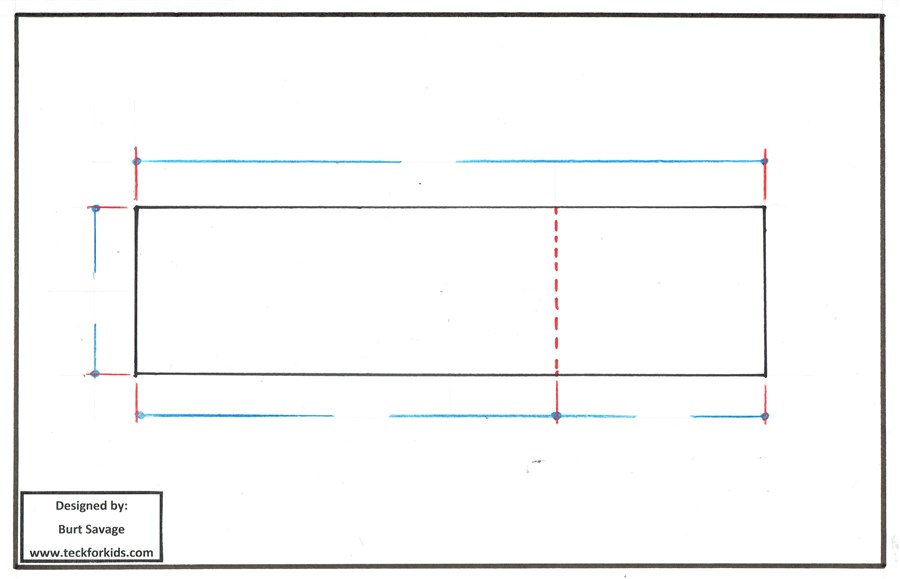
Design Lines

Dimension Line


Border Line
Extension Line

Fold
Line
Line

Technical
Drawing
Line
Drawing
Line
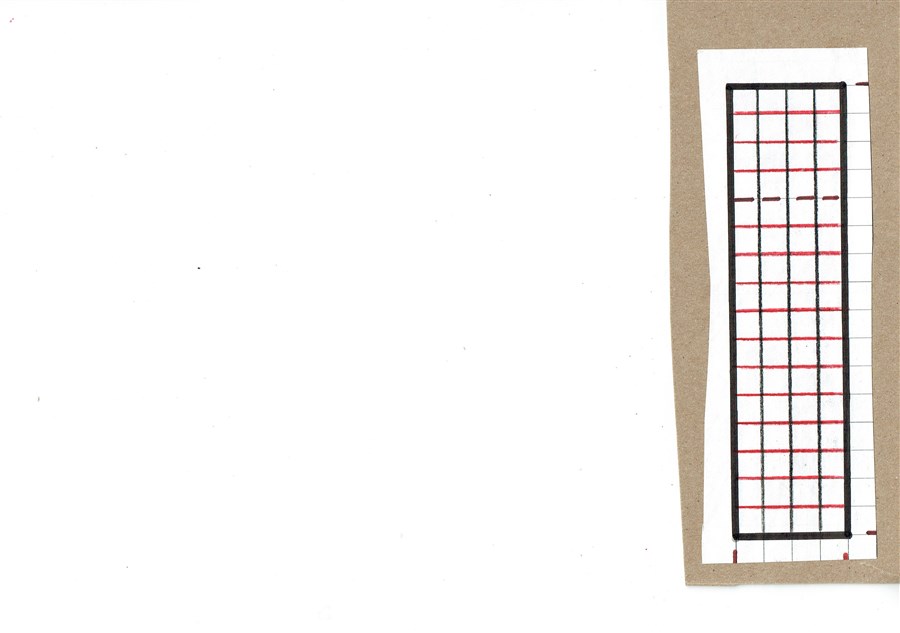
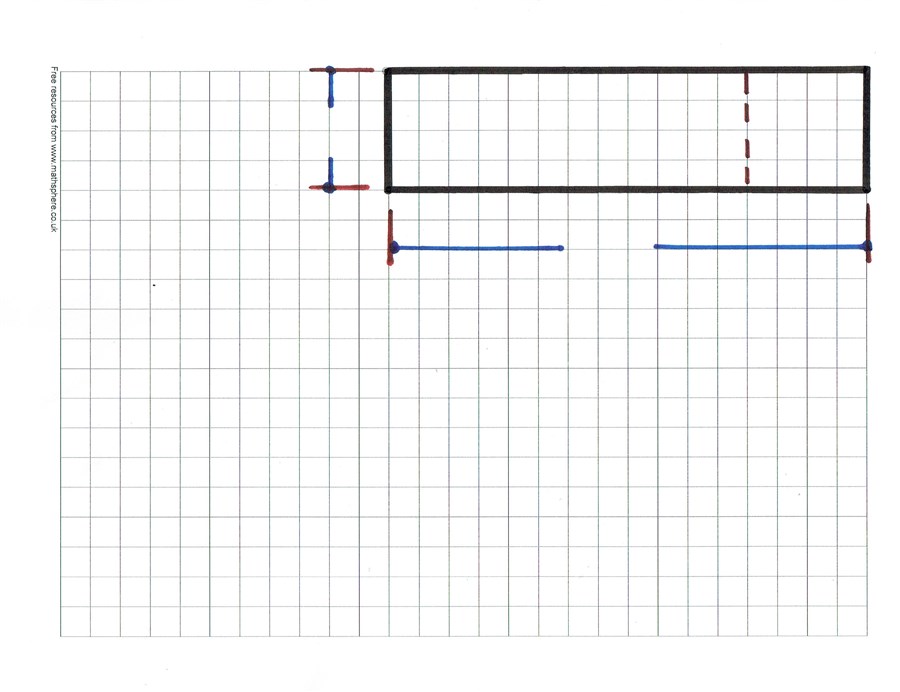
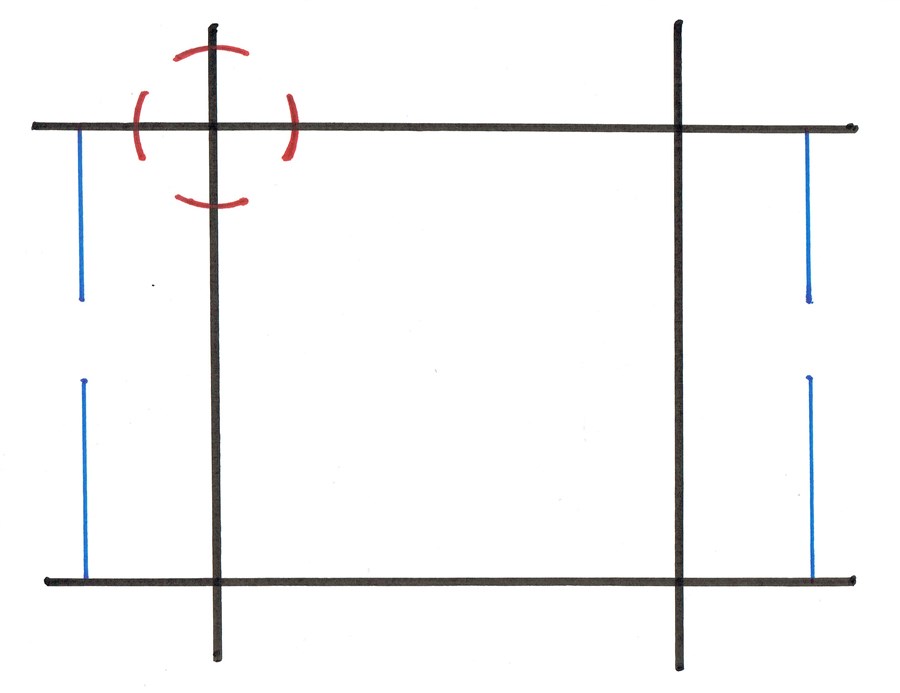
Border Lines: Designers draw a black border line around the inside edge of the paper. This rectangle, is the design area. A small information rectangle is drawn in the bottom corner. This is the place to put your name and information.
Dimension Lines: The blue dimension lines are lines, with a space in the middle that show how long something is. The dots or arrows at each end show where the lines begin and end, and the number within the space shows the length of the line.
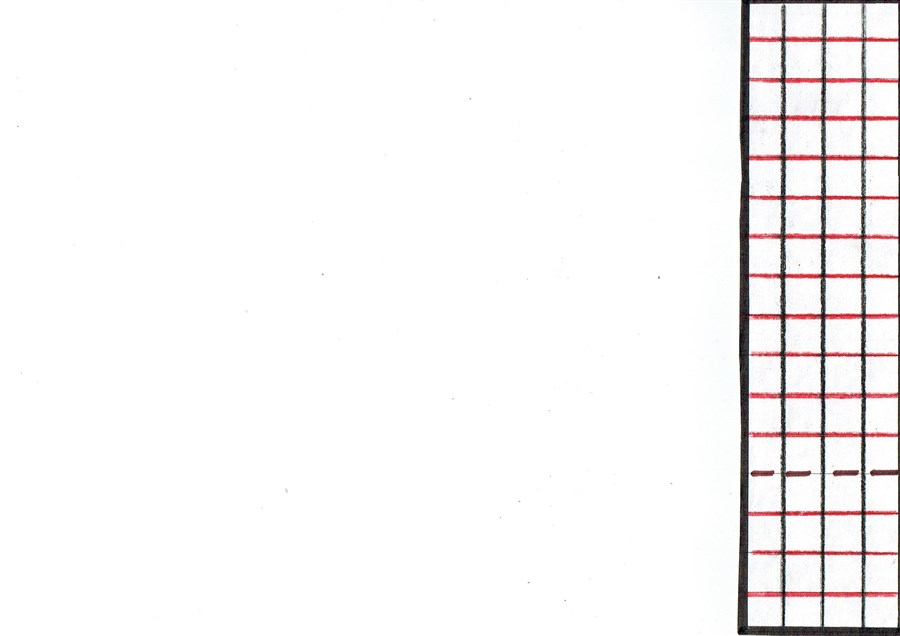
Extension Lines: The red extension lines are thin lines that extend from the drawing to a place outside the drawing area. They are lines that tell you where a dimension line begins and ends.
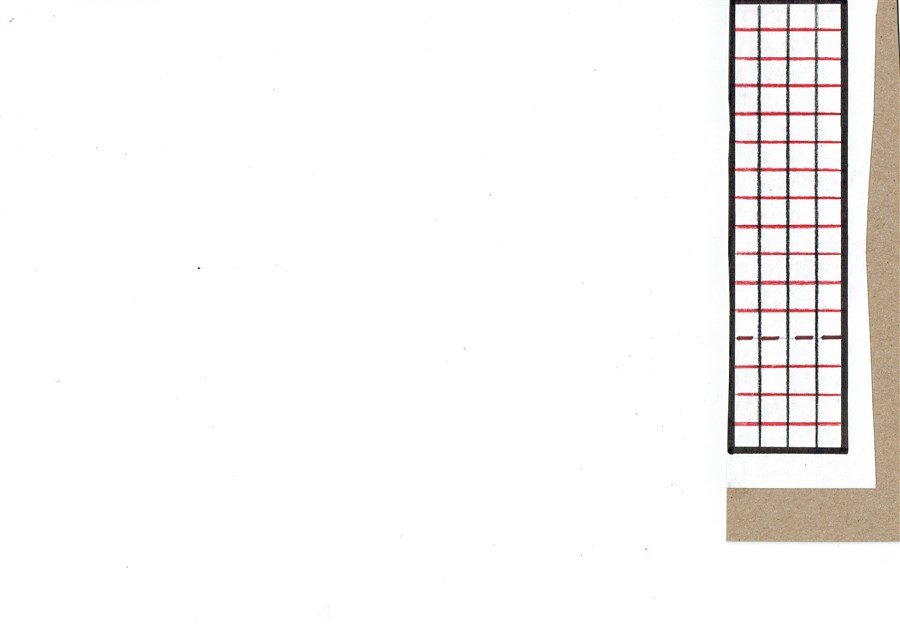
Fold Line: The broken fold line shows you where you would fold the project. This fold changes the boxboard into a clip that you can use to mark your page.
Technical Drawing Lines: A technical drawing line shows you what the drawing looks like.
If you are drawing a something youw ant to make or someone else wants to make you must learn what different lines mean. Designing is a language that technology people understand and use in construction.
If you are drawing a something youw ant to make or someone else wants to make you must learn what different lines mean. Designing is a language that technology people understand and use in construction.
One Centimeter Graph Paper
Graph Paper: One centimeter square, (1cm²) graph paper is part of the metric system of measurement . The metric measuring system is the standard measurement system used throughout our planet.
Square graph paper is two dimensional. Each equal square has four equal sides. Because they are equal, each side is represented by the letter (S).
Focus: The area of one square equals one square centimeter (1cm2 ) the perimeter equals four centimeters.
Square graph paper is two dimensional. Each equal square has four equal sides. Because they are equal, each side is represented by the letter (S).
Focus: The area of one square equals one square centimeter (1cm2 ) the perimeter equals four centimeters.
1cm2
1 cm
S
90°
90°
90°
90°
Bookmark Facts: The earliest bookmark was found near Sakkara, Egypt,about one thousand six hundred years ago.
It was made of ornamented leather, lined with vellum (animal skin) on the back, and was attached with a leather strap to the books binding.
It was made of ornamented leather, lined with vellum (animal skin) on the back, and was attached with a leather strap to the books binding.
4cm
16cm
As a junior designer you will begin your design with graph paper. Purchase a package of design paper at a paper supply store, such as Staples, or search for and download a sheet from your computer. Also, organize your pencil, pencil crayons with sharpener, ruler, glue-stick and roller.
? mm
? mm
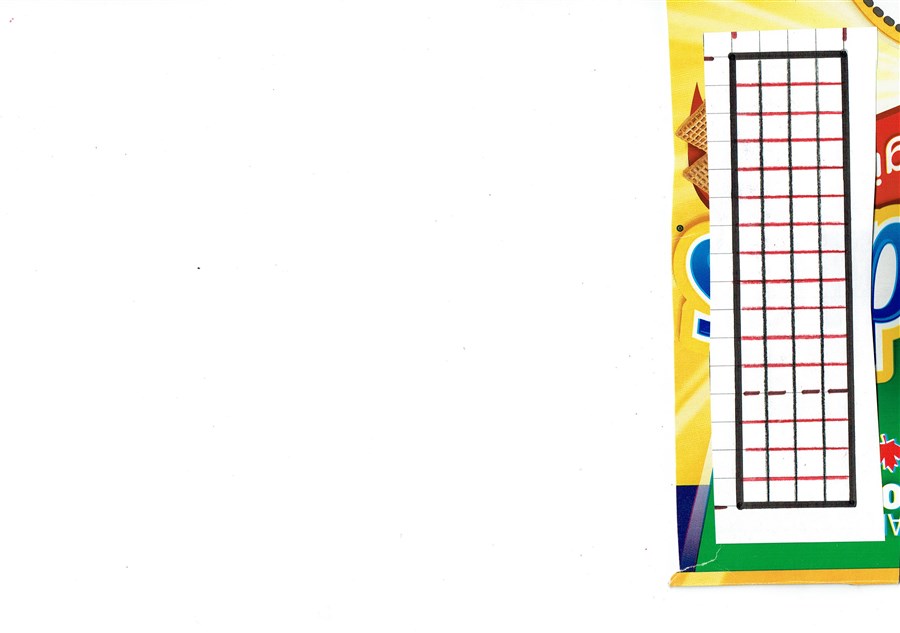
Highlight the horizontal lines with a sharp black pencil crayon and the vertical lines with a sharp red pencil crayon. Do not use a marker or pen!
What is the perimeter of the rectangle in millimeters?
1cm Space
1cm Space
After applying the glue, align and place your project on your roughly cut boxboard back. This transfers the design to your boxboard material.
Place a clean scrap piece of paper on the project, roll it vigorously in all directions and immediately remove the scrap paper. Allow thirty minute to dry before continuing with your task.
With sharp, easy to use scissors cut your bookmark and fold it carefully.
Note: I did not colour my bookmark. You may want to place your design on the cereal boxes surface. Watch the sandpaper video.
Note: I did not colour my bookmark. You may want to place your design on the cereal boxes surface. Watch the sandpaper video.